


This low memory material has been developed to offer the perfect balance between rigidity and flexibility for use as a dedicated boom section on ‘D’ style stiff links, hinged stiff and combi-links.
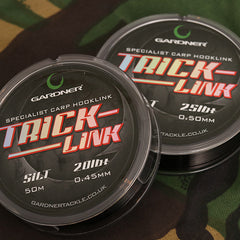
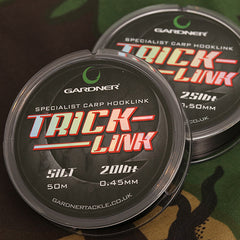
Just like the original Camo Trick-Link this new silt version has been developed to balance rigidity with that little bit of flexibility that allows the finished rig to settle just right. We all know that the best presentation will give the best chance of a bite.
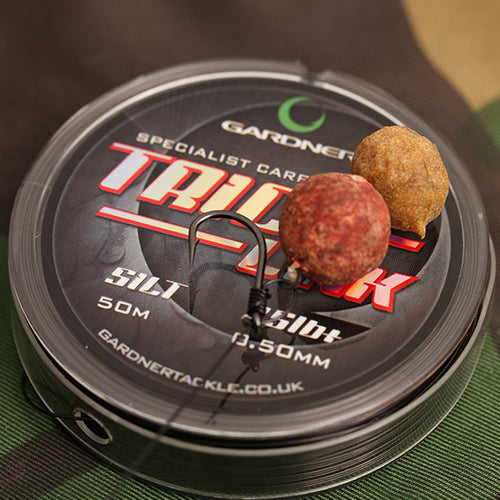
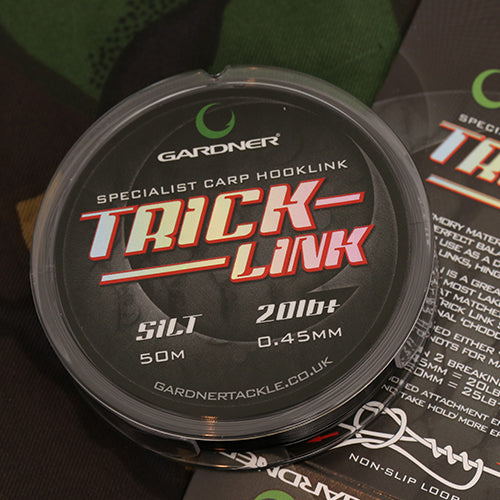
The silt version is a great go anywhere colour, as the bottom of most lakes and rivers are strewn with debris, such as sticks, decaying leaves, reeds, etc., which means hooklinks tied with black lines naturally look like strands that the fish see all the time! The pigment content also makes Trick-Link Silt slightly softer than the original “choddy” Camo version.
Just like the original Trick-Link, the Silt version has superb knot strength and it ties up neatly and steams straight. All the little tweaks that help your finished rig perform to its very best possible potential.
When forming loops we recommended using either ‘Figure of 8’ loop knots or the improved ‘Non-Slip’ loop knot to form the nicest, neatest round loop and for maximum strength with Gardner Trick-Link (please check the video in the Video Tab for instructions on how to tie this knot).
*Incorporating looped attachment at the swivel end ensures the hook can twist and take hold more effectively with any stiff hooklink presentation.
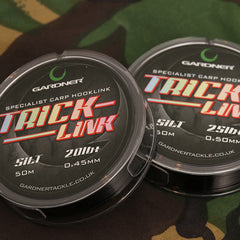
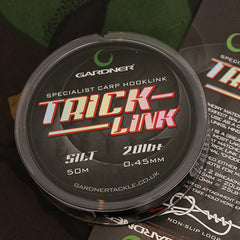
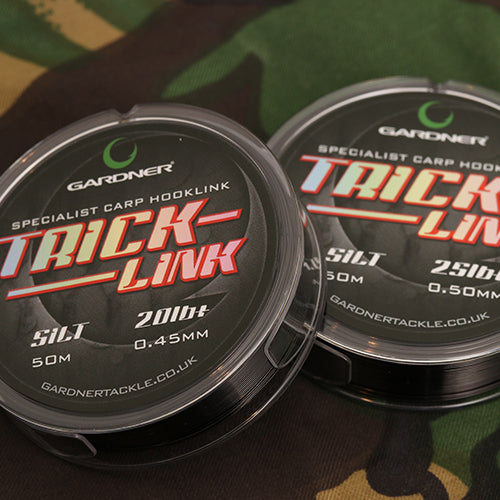
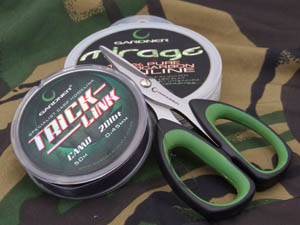
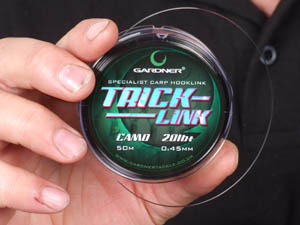
Trick-Link Silt is available in 2 diameters / breaking strains:
| Breaking Strain | Diameter | Meterage |
| 20lb (9.1kg) | 0.45mm | 50m |
| 25lb (11.3kg) | 0.50mm | 50m |
‘Non Slip Loop Knot’ step by step guide:
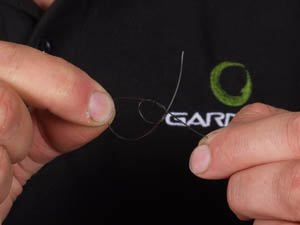
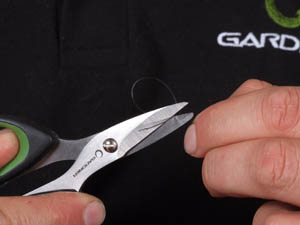
- What you need…
- Step 1 – If you’re using monofilament or Fluorocarbon materials for hingged stiff rig boom sections and stiff rigs a nice tidy loop allows the rig to move freely.
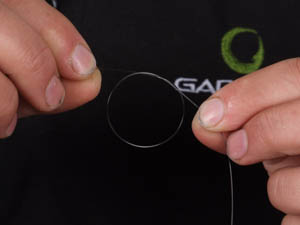
- Step 2 – start the loop knot with a simple overhand knot about 20 cm from the end.
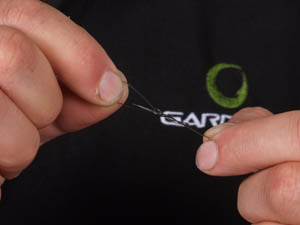
- Step 3 – Form a loop and pass the tag back through the overhand loop (include a swivel if necessary).
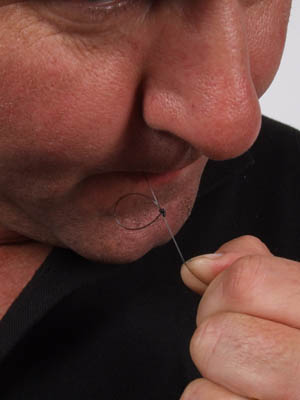
- Step 4 – Now rotate the tag around the hooklink above the know a few time and pass the tag end back through the centre of the original overhand loop (think ‘blood knot’ for this bit).
- Step 5 – Tighten down using the tag. Don’t pull on the loop like you would with a conventional figure of 8 loop knot otherwise you will end up with twists created in the loop (nasty!).
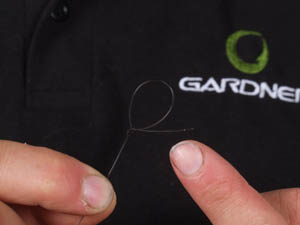
- Step 6 – The loop should look like this! Lovely and round and neat.. A thing of beauty!
- Step 7 – Trim off surplus tag material to finish (Note – I prefer to ‘blob’ the tag end for extra security – Lewis)